
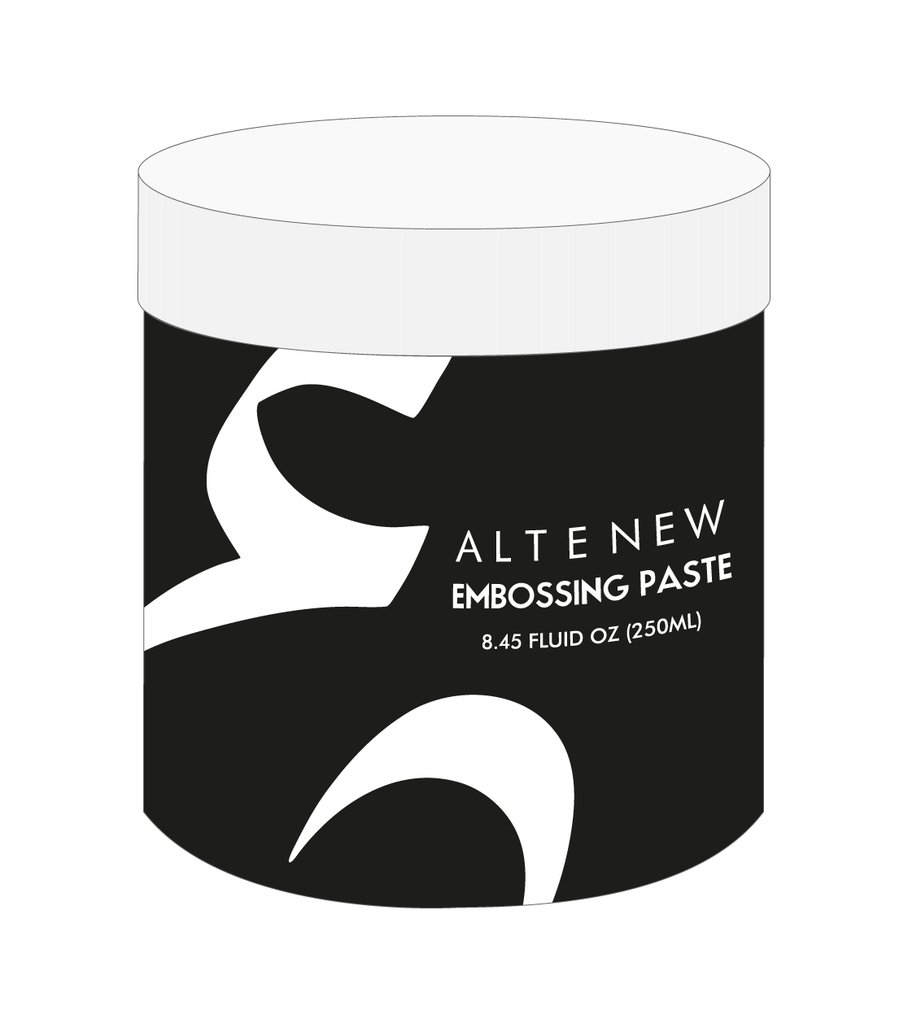
Hello there, it is Verity here from Pretty Little Button for the Bumbleberry Design team. Well, I was waiting patiently for the Altenew Embossing Paste to arrive at Bumbleberry's and soon as it did, it went in my basket! I couldn't wait to try it out and whats more thought the Liquid watercolours from Pink Fresh Studios would be a quick way to colour the paste. This created fun textured backgrounds without a lot of bulk as this paste is lovely and smooth and can go on very thinly if you wish.
Textured backgrounds- written tutorial and photos:
To start off, use a palette knife to take a small scoop of the paste out from the tub onto your glass mat or any other non-porous surface. This is a lovely light and smooth paste and easy to manipulate over a stencil and to mix with other media to colour.
Apply three small scoops of the paste to your mat and then add a single drop of colour from the Pink Fresh Studio Watercolour collection. I used Sapphire, Sky Blue and Emerald. Use a spatula to mix the colours until the colour is consistent throughout the paste.
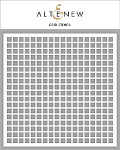
Adhere the Grid stencil by Altenew over the top of a piece of Neenah Classic Crest Solar White 80lb cardstock with low tack tape. It is best to position the tape on the back of the card and stencil so it doesn't cover any area on the front where you may wish to add the paste.
For the first card, apply a selection of the colours from Sapphire up into the Sky blue and then into Emerald, blending the colours to create an ombre.
You can also create additional interest by rotating the stencil so the pattern appears diagonally. In addition, for a more organic look, apply the paste in different areas and prevent from filling the whole panel up. When you are happy with the panels and used up the paste, set the panels to one side and leave to dry. This took a couple of hours but the drying time can depend on how thick you apply the paste.
While the panels are drying, stamp in clear embossing ink a selection of the stamps from the Fancy Blooms stamp set from Pink Fresh Studios onto Neenah Classic Crest Solar White 80lb cardstock using your MISTI. Cover this with Blue embossing powder and heat set.
Either use the coordinating dies or a pair of scissors to cut the floral heat embossing images out. When the embossed panels are dry, trim these down so there is an 1/8" border and foam mount these onto white card bases. If you have any warping, ensure there is double sided tape covering the while foam panel for better adhesion.
To allow the colours of the paste to stand out, foam mount the heat embossed images onto the cards to keep a monochromatic scheme. Alternatively, if you prefer more colour, you can use a variety of mediums to colour the images in.
Add heat embossed sentiments from the Cherished Memories and Flower Vine stamp sets from Altenew and adhere these using Gina K Connect glue. Lastly, add a few sequins scattered around the card panel for a little shine.
If you enjoyed today's card, please let us know and we would love to see your cards if this has inspired you.
Shopping list for Textured backgrounds:
Links to supplies at Bumbleberry Papercrafts Shop:
|

Gina K Designs - Connect Glue
Shop at:
BP
|
Neenah Classic Crest Solar White 110lb Cardstock
Shop at:
BP
|
Original MISTI - My Sweet Petunia
Shop at:
BP
|

Cherished Memories - Altenew
Shop at:
BP
|

Aquamarine Watercolour - Pink Fresh Studios
Shop at:
BP
|

Sapphire - Pink Fresh Studios
Shop at:
BP
|

Sky Blue - - Pink Fresh Studios
Shop at:
BP
|
Grid Stencil - Altenew
Shop at:
BP
|
Embossing Paste - Altenew
Shop at:
BP
|
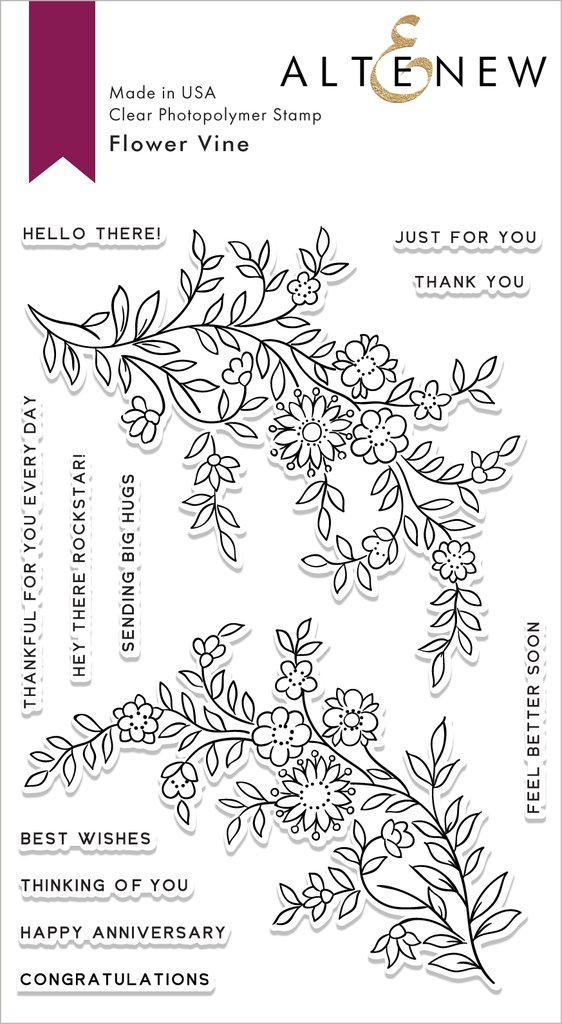
Flower Vine Stamp - Altenew
Shop at:
BP
|
|
If you enjoyed this post and create a card like this, make sure you share it in the Bumbleberry Craft Room on Facebook for us to check it out!
Until next time!
Verity


